Brow Shaping Guide: Frame Your Face with Confidence
Master brow mapping, face-flattering shapes, and easy fill-in tricks. Tools, steps, and pro tips to frame your features with confidence.
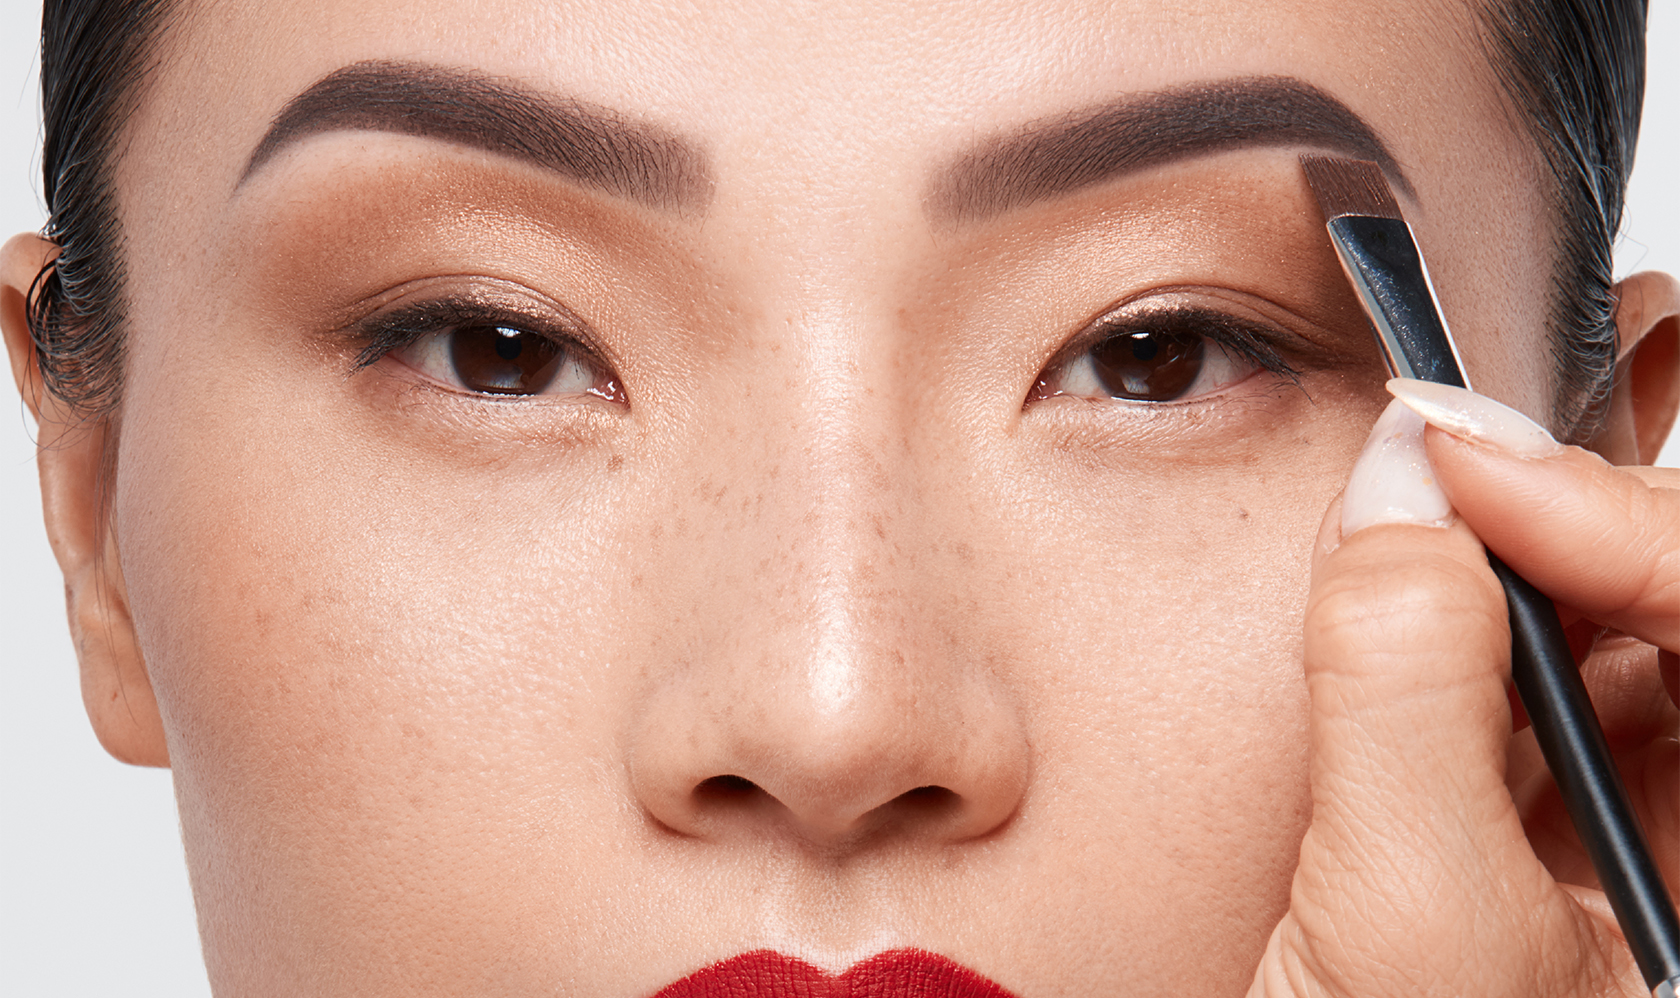
Map Your Brows to Your Face
Your brows are the quiet directors of your expressions, and the right shape can balance features and bring instant polish. Begin with simple mapping to understand where your brows should start, arch, and end. Hold a brow pencil vertically from the side of the nose to find a natural start point that avoids an overly wide or pinched look. Angle it from the nose through the outer edge of the iris to locate a soft arch that lifts without looking surprised. Finally, angle the pencil from the nose to the outer corner of the eye to mark a refined tail that tapers, not thins to nothing. Adjust subtly for face shape: a gentle arch elongates round faces, a softer curve can ease a strong jaw, and a slightly higher tail adds lift to downturned eyes. Remember, brows are sisters, not twins; strive for symmetry in spirit rather than absolute sameness, and sketch your map with a light hand before any hair removal.
Prep And Tools For Precision
Successful shaping starts long before a single hair is removed. Cleanse the area and soften the skin with a warm compress to reduce tugging. Brush brows upward with a spoolie to reveal the true outline, then sketch a faint guide using a pencil or powder that mimics hair color. Choose well-made slant-tip tweezers for control, small brow scissors for precision trims, and a clear gel to test how hairs lie when set. Ensure tools are clean; a quick pass with an alcohol wipe helps maintain hygiene and reduces irritation. Work in bright, even lighting with a mirror that does not distort. If skin is sensitive, a touch of soothing aloe or a cooling roller can calm the area before and after shaping. Most importantly, set an intention: fuller, natural brows require restraint; sculpted, defined brows demand crisp lines. With tools ready and a plan in mind, you can proceed confidently and avoid overworking your shape.
Techniques: Tweezing, Trimming, And Beyond
Each shaping method has a purpose, and understanding strengths prevents common mistakes. Tweezing offers the most control, ideal for plucking stray hairs just outside your mapped outline. Hold skin taut, pull in the direction of growth, and step back frequently to check balance. Trimming refines bulk without thinning density: brush hairs upward with a spoolie, then snip only the longest tips that sit above your guide. For rapid cleanup, waxing swiftly removes fine fuzz and clears edges, best reserved for those confident in their map. Threading excels at crisp lines, especially near the bulb, because it captures multiple hairs evenly; it is precise, but requires skill. No matter the approach, avoid over-thinning the front of the brow or cutting into the arch. After shaping, calm the skin with soothing gel and skip heavy makeup on the area until any redness subsides. The goal is a clean perimeter and preserved density, not a skinny outline.
Design Elements: Thickness, Arch, And Tail
Great brows are about architecture. Thickness should harmonize with hair texture, eye size, and forehead height. Fine hair and delicate features look balanced with a softly full silhouette, while bold features can carry a stronger, more structured brow. Keep the front of the brow soft and slightly lighter for a believable gradient, avoiding a harsh, blocky square. The arch should peak subtly above the outer edge of the iris and flow seamlessly into the tail; a sharp kink can age the face, while a gentle curve lifts and opens the eyes. The tail should taper to a clean point that aligns with your mapping mark, never drooping lower than the head of the brow, which can pull the face downward. Preserve the bulb by removing only the obvious strays, and maintain a consistent underside line for clarity. Throughout, check both brows from a slight distance to confirm proportion, not perfection, drives your design.
Color, Definition, And Styling
Color can transform shape without removing a single hair. Choose a brow shade that mirrors your natural undertone: cool ash for ashy hair, warm taupe for golden tones, and deep neutral for dark hair. Use a pencil to sketch hairlike strokes in sparse zones, focusing on the tail and arch for lift. A powder adds soft fullness, while a tinted gel grips and tints individual hairs for a natural boost. Keep the front of the brow lighter, building definition gradually as you move outward. If hairs grow downward or cross, comb upward and outward with a strong-hold clear gel or try a gentle lamination-style set at home using a setting product formulated for brows. Finish by diffusing edges with a spoolie to erase any obvious lines and tapping a satin highlight beneath the arch to lift. The aim is dimension, not flat color; let real hairs show through so the result looks effortlessly polished.
Maintenance And Growth Strategy
Beautiful brows are sustained by mindful habits. Respect the natural growth cycle by reserving at-home tweezing for clear strays outside your mapped shape, and let short, new hairs fill in before reassessing shape. If you are growing out overplucked areas, commit to a pause period and disguise gaps with feathered strokes and tinted gel rather than aggressive reshaping. Support brow health with gentle cleansing, light exfoliation around the area, and nourishing serums with peptides or botanical oils; always patch test if you have sensitive skin. Daily brushing with a spoolie helps train direction, and a dab of lightweight oil at night can smooth wiry ends. Nutrition matters too; steady protein, healthy fats, and hydration support hair resilience from within. Set a recurring check-in to refine, not reinvent. With patience, subtle tweaks, and consistent care, your brows will evolve into a shape that feels authentically yours and frames your features with enduring confidence.